- In the web version, you can still enjoy the APP's authorization function, and authorize your cloud phone to the specified user ID. You can also generate an authorization code for your cloud phone. Please use the authorization code to get permission to view or control your cloud phone.
After logging in to Redfinger cloud mobile phone web client successfully, there are two ways to enter the authorization management;
Way 1:
- Log in Redfinger web terminal, "Tools" can be easily found in the interface, and select it;
.png)
Select "Authorization" in the "Tools" part;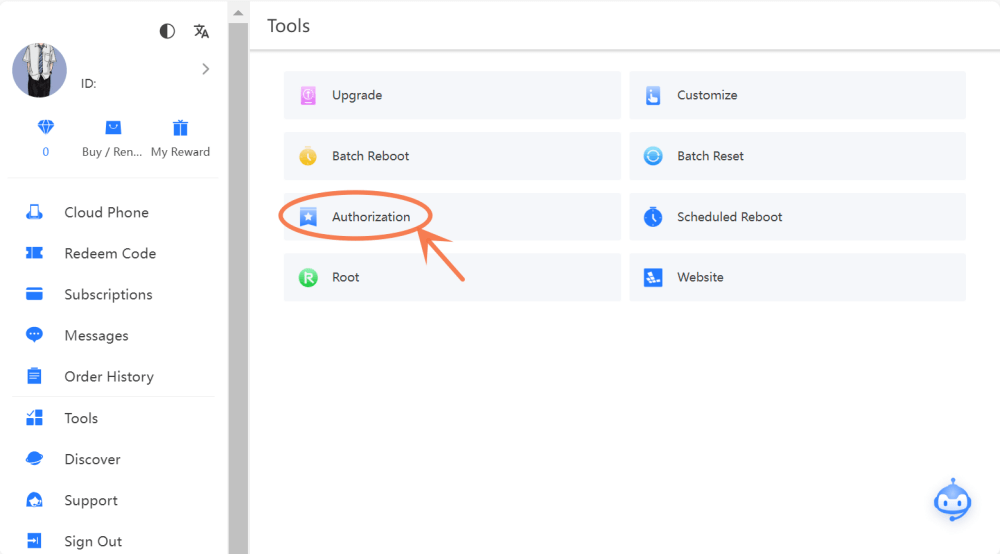
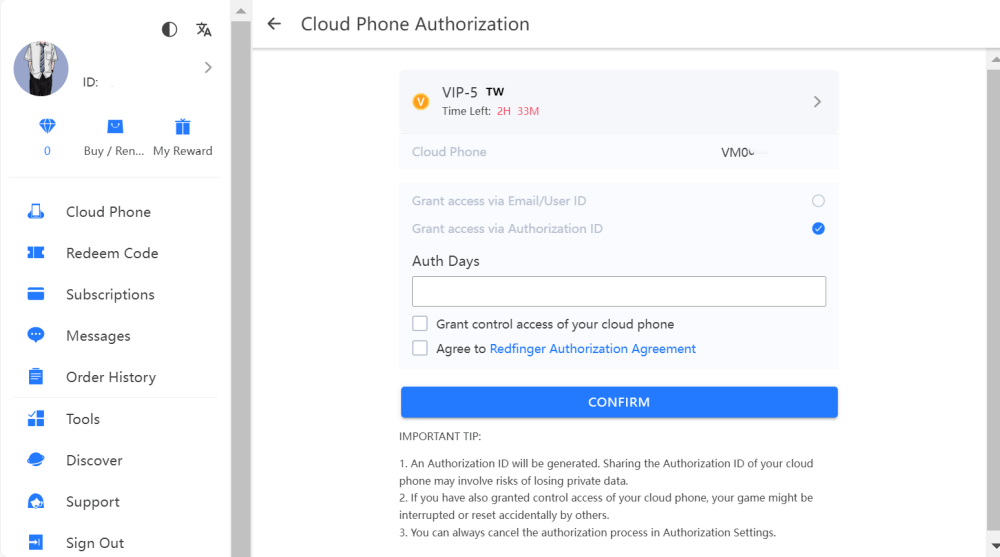
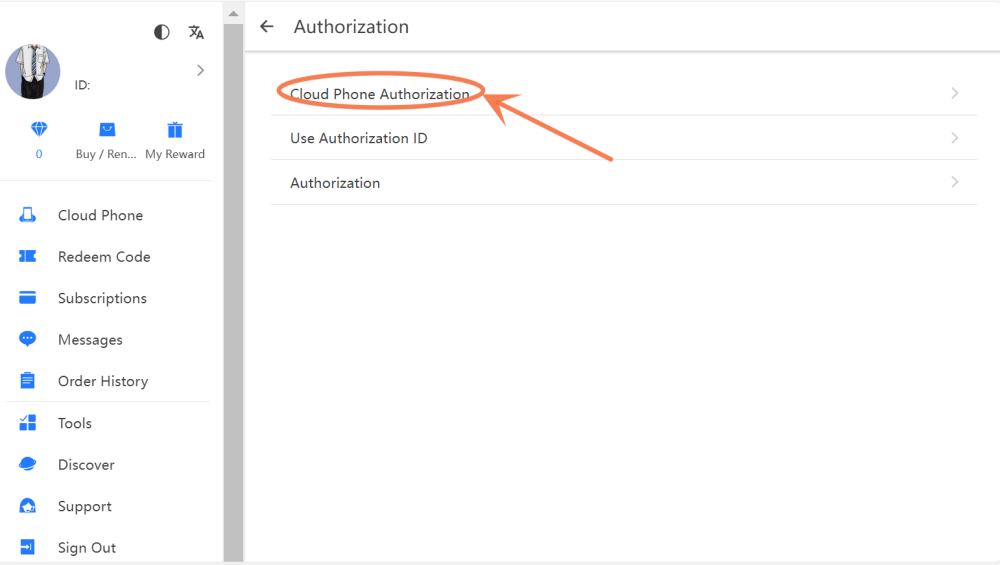
- This part is divided into "Cloud Phone Authorization", "Use Authorization ID" and "Authorization";
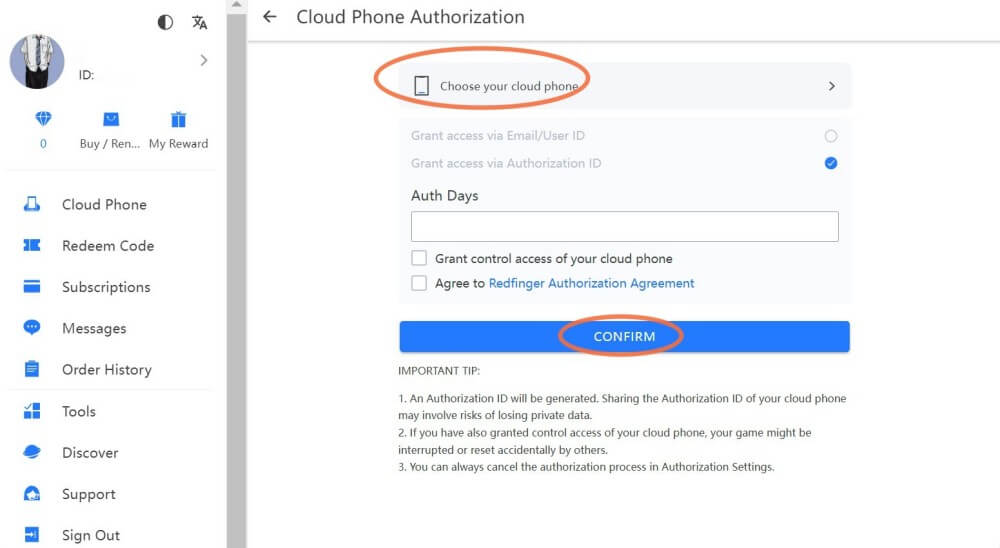
- In the "Cloud Phone Authorization" part, choose your cloud phone to authorization and input the "Anth Days". It should be noted that you get consent from the owner before viewing or operating this cloud phone;
In the "Use Authorization ID" part, there is a need for you to enter the authorization id and then you can get access.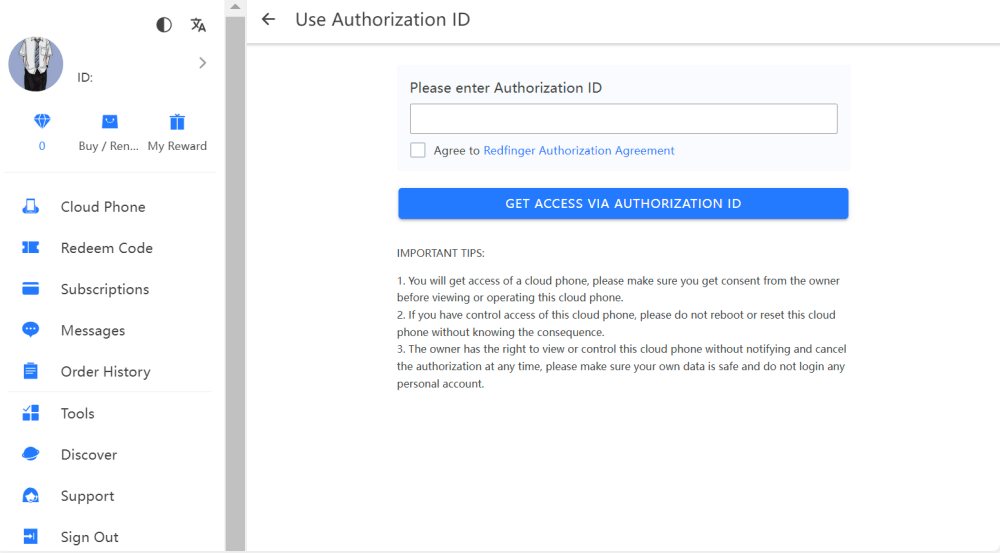
In the "Authorization" part, you can find the authorization record.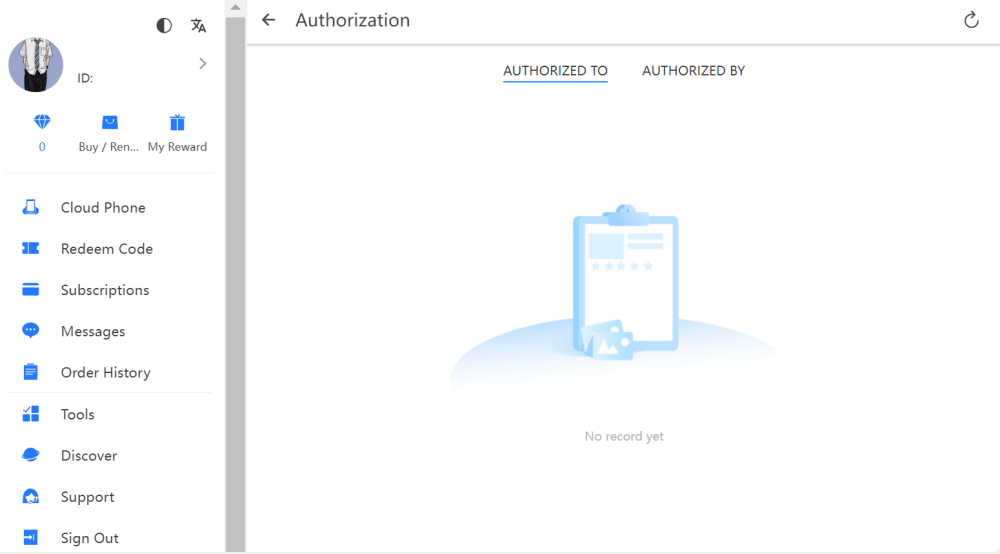
Way 2:
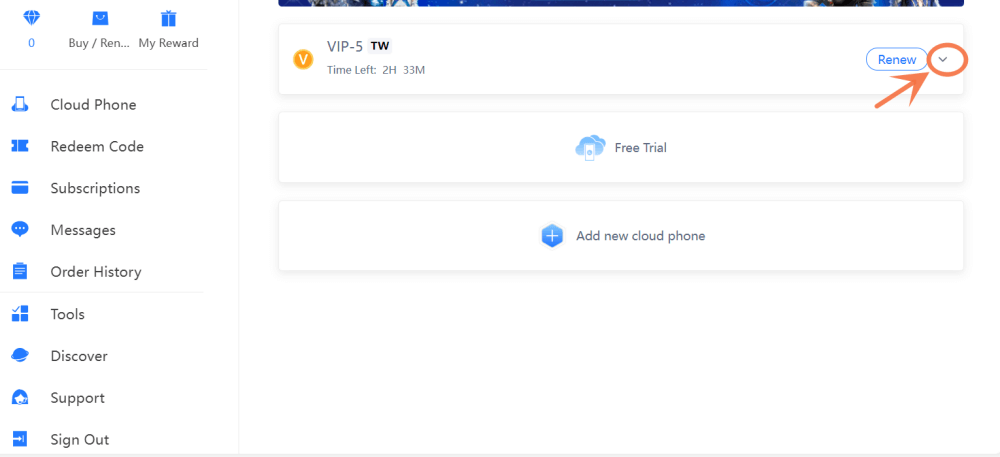
- Under the cloud mobile device list, click this button below;
- Select the "Authorization" and complete the following steps;
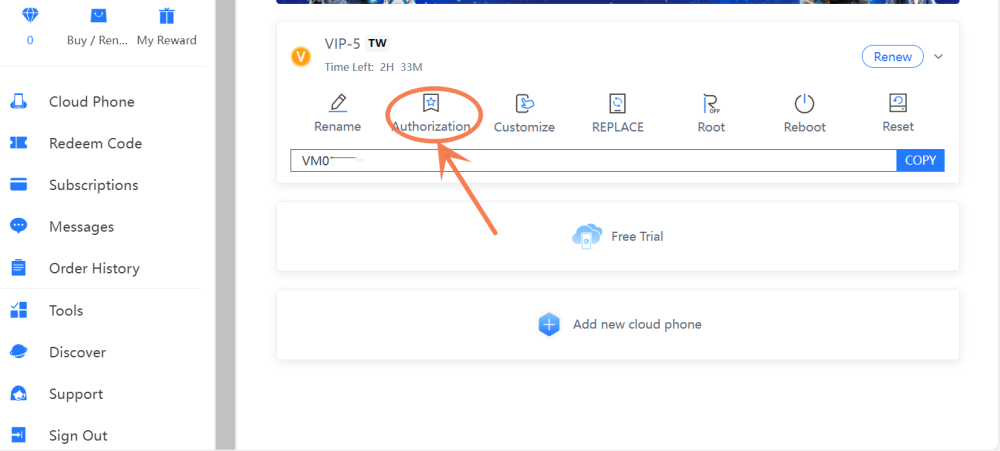
- You can choose to "Auth Days" to authorize your cloud phone to a designated person.